7 Best Gift Ideas for a DIY Lover

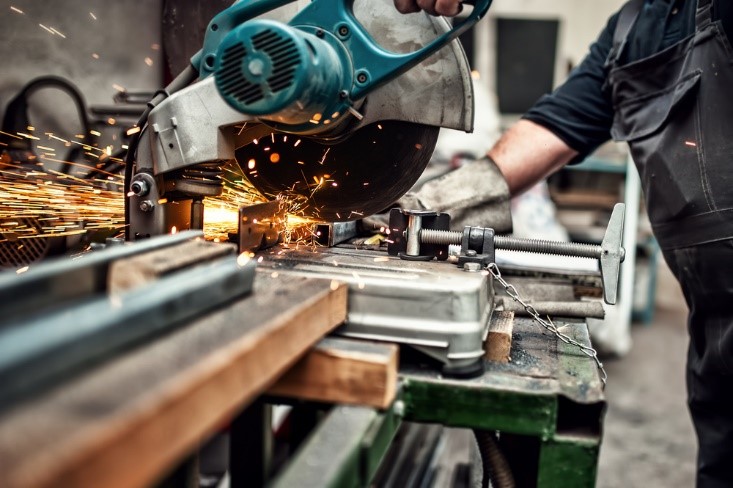
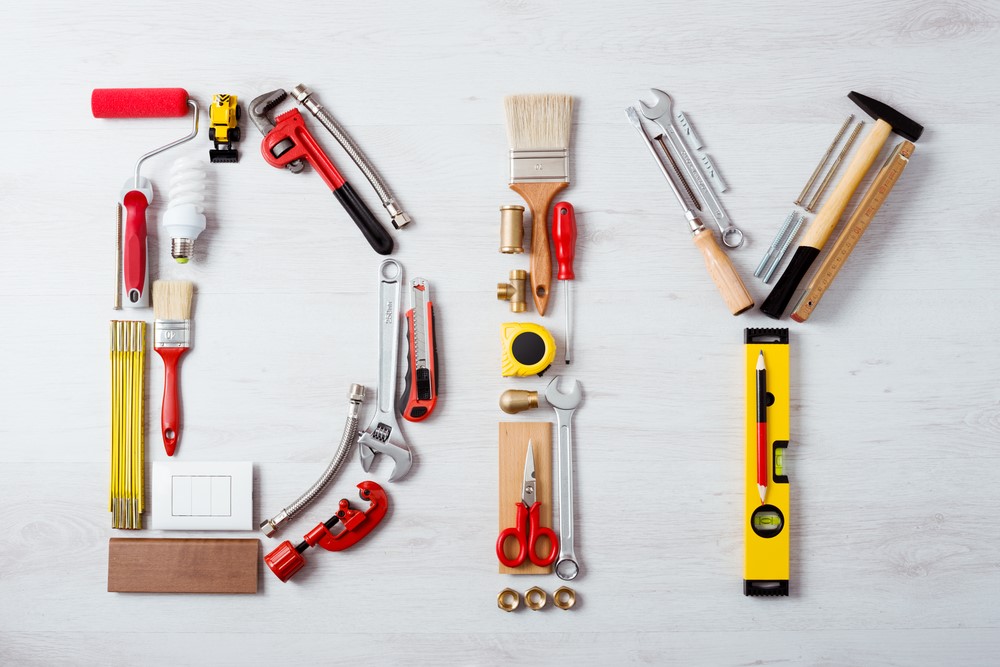
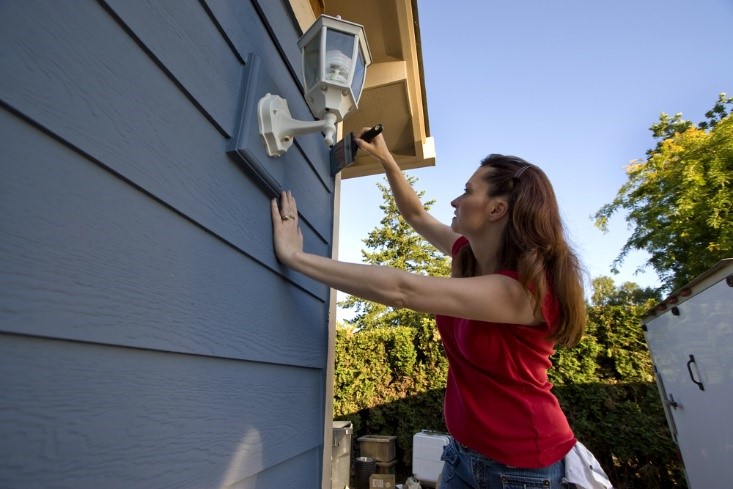
If you have a loved one in your life that loves DIY projects, you may be wondering what to buy for them. We’ve compiled a list of seven great gift ideas for DIYers of every skill level.

  1.     Magnetic Pickup Tool

No matter what the task is, dropping metal pieces like nails and screws happens to everyone. And of course, these objects seem to find their way to the most inaccessible places in your shop. An extendable magnetic wand is a perfect tool for anyone who has had to crawl on the floor to retrieve a missing screw from under the workbench.

  1.     Digital Multimeter

No Electrical tool kit is complete without a multimeter. Today’s digital models are rugged, easy to use, even with gloves on, and sport extra-large displays. It’s also an excellent tool to help young or inexperienced DIYers learn more about electrical currents and how they work.

  1.     Storage Organizer

It doesn’t take long for a DIYer to gather a collection of nuts, bolts, washers, and screws left over from older projects. Keeping them safe and organized is always a challenge. Storage organizers come in a range of shapes and sizes, so there’s a perfect solution for every workspace.
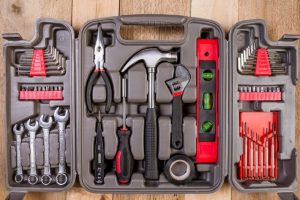
  1.     Drill Attachments

Every drill comes with a basic set of drill bits. However, the average DIY enthusiast will quickly find that the included bits are made of cheap metal and break. Sometimes, they don’t come in the right sizes and types. An aftermarket attachment set offers a wide range of bits and attachments, including everything from screwdriver bits to hole saws.

  1.     Laser Level

Every DIYer probably has a level already. Upgrading to a laser level is a great way to help them up their game. They can use it to hang pictures, install shelving, lay floors, hang wallpaper, and more.
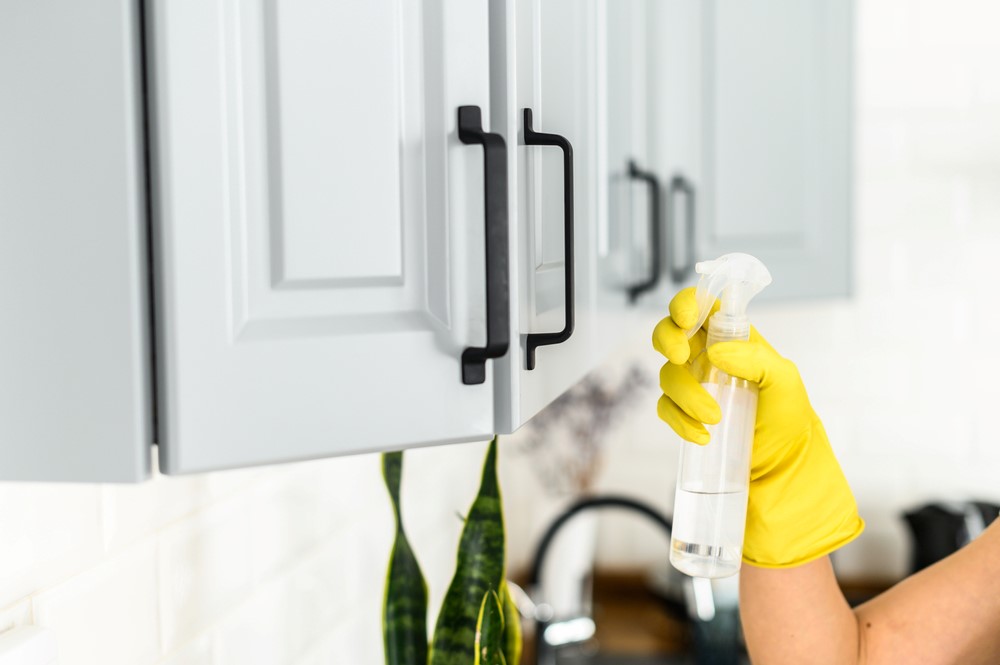
  1.     Work Gloves

A good pair of gloves is an essential tool for a DIYer. Whether they are working under the hood, on the roof, or in the garden, Look for gloves that offer extra protection for the thumb and index fingers. Machine washable gloves are a plus.

  1.     Gift Card

If you don’t know what to buy, a gift card, so your DIYer get what they want. Just choose a store or website where they enjoy shopping.

DIYers come in every kind. There’s almost no limit to the projects they might take on. With the right tools, you can help them stay busy!

3 Ways to Winterize Your Home and Save on Energy Cost

It’s that time of year again: cozy evenings spent by the fire, hot apple cider, holiday cheer and… higher heating bills? Not necessarily!

With colder temperatures just around the corner, now is the time to take steps to lower your energy costs. Fortunately, winterizing your home doesn’t have to be difficult or costly.

Here are three ways to prepare your home for winter before the snow and sleet hit.

  1. Stop the Drafts

Though they may not be visible, holes, cracks or seams in your home’s walls, windows and doors allow cold air to sneak in and warm air to escape… so you need to seal them. Start by walking your home’s exterior and looking for gaps around windows and doors. Don’t forget to check hose faucets and where siding meets the foundation. Use expanding foam sealant or acrylic-latex caulk to fill the gaps.

Next, inspect the weather stripping. Close a piece of paper between the window or door and the frame. If you can pull the paper out, it’s time to replace the stripping. Self-adhesive stripping — available at hardware and home improvement stores — offers an easy DIY fix.

Now seek out drafts inside your home. Choose a cold day and stand near doors, windows and electrical outlets. If you feel air movement or notice cooler temperatures in certain areas, fill gaps with caulk and insulate outlet covers with foam gaskets.

You can use a lighted stick of incense to find drafts. Simply hold the incense near windows and doors and watch how the smoke moves. If it streams away, you’ve found a crack.

Finally, place draft guards underneath doors to prevent drafts and heat loss. You can purchase pre-made guards or simply roll up a towel.

  1. Optimize Your HVAC

Your furnace works hard to keep you warm, so give it some TLC to keep it running smoothly. If it’s been a while since you checked the filter, now is a great time to replace it.

Dirty filters obstruct air flow, which makes your furnace work harder and run for longer periods to heat your home. Not only does replacing the filter on a regular schedule — generally, every one or two months — help lower your heating bills, it can keep your furnace purring along for longer.

Reduce energy costs by turning the thermostat down to 68 degrees while you’re awake and lowering it when you’re sleeping or out of the house. According to the U.S.. Department of Energy, lowering your thermostat by seven to 10 degrees for eight hours each day will reduce annual utility costs by up to 10 percent. A “smart” or programmable thermostat makes it even easier to increase efficiency.

  1. Shore Up Your Windows

We’ve already talked about sealing window frames with caulk and installing new weather stripping. But on the coldest days, your windows will still let in the chill.

One easy fix? Seasonal insulated curtains that keep cold air out and warm air in. Just remember to keep the drapes closed when sun isn’t shining directly on the windows. For a more permanent solution, install insulated blinds.

You may also install window insulation film. While it may not be pretty, it’ll help reduce heat loss by up to 70 percent.


Don’t forget to a peak in the attic to see how much insulation is in the space. A minimum of 12″ is recommended. Blown in insulation is a very easy and economical solution to heat loss through the roof!

Don’t let chilly temperatures leave you in the cold! These winterization tips will keep your home toasty and help you save on energy costs this winter.


Effective Ways to Clean Your Kitchen Cabinets

Being the focal point for every kitchen, dirty cabinets are easy to spot. This is not surprising because cabinets do not receive the same attention as the counters, sinks and floors when it comes to regular cleaning. This is despite the fact that they receive everyday food splatters, water marks, grease, dust and fingerprints.

The problem is even bigger when the dirt accumulate overtime creating sticky situations that are a nightmare to clean.  Dirty kitchen cabinets also pose a health risk because bacteria like salmonella can contaminate the entire food prep area.

Cabinet cleaning schedule

In order to maintain your cabinets and keep them clean, you need to have a cleaning schedule that alternates between general cleaning and deep cleaning. With a constant weekly general cleaning, you’ll only need to deep clean occasionally.


How to do a general cleaning of your cabinets

Start by collecting the cleaning equipment and materials that you need. These are cleaning cloths, a soft- bristled brush, dish soap, vinegar or a warm water solution and a special cabinet cleaner like orange oil. Optionally, you might need a vacuum, baking soda and an all-purpose cleaner. The basic cleaning solution for all cabinet materials is a solution of dish soap and warm water or white vinegar and warm water. Unlike the majority of all-purpose cleaners, these solutions remove most of the food smudges, dust and grease buildup without damaging the cabinet’s finish.

Spray the solution directly onto the surfaces or onto the cleaning cloth and wipe the cabinet surfaces from top to bottom. Remember not to soak the cabinets as too much moisture can damage the finish. Also, don’t let the water run into the hinges to avoid rust.

Once the cabinets are wiped clean, remove the cleaner with a final rinse using a lightly dampened clean cloth. Finally, use a dry soft cloth to wipe all the cleaned surfaces dry. Don’t let them air dry because it can bubble the finish or paint.  Clean the glass and metal hardware thereafter.

Cleaning tough spots

When your cabinets have sticky yellowish or orange grease grime, dried grunge or other food stains on them, it can be hard to remove it with dish soap or a vinegar solution. In this case, apply orange oil cleaner and let it sit for a few minutes before scrubbing with a soft brush. You can also apply a paste of baking soda, salt and water then scrub the area with an old toothbrush.

Deep cleaning your kitchen cabinets

Deep cleaning of kitchen cabinets can be done at least twice a year. This means emptying of the cabinets entirely before cleaning them in and out using the procedures outlined for general cleaning. This is also the time to clean the cabinet contents and throw away anything that is expired, heavily chipped, cracked or missing a lid.

After cleaning your kitchen cabinets, try to maintain the cleanliness by cleaning spills as they happen with a sponge or damp cloth. To protect from future stains, apply a mixture of vegetable oil and vinegar lightly on the cabinet surface then rub with a soft cloth until it shines.

For further advice on your kitchen cabinets or next home improvement project, give the professionals at Nuzum Building Supply a call!

5 Tips When Painting the Exterior of Your Home


There are a lot of decisions and preparations that go into painting your home’s exterior. You have to find the right paint color, use the right tools, and have some knowledge of what you are doing. It isn’t easy but that is why we have curated the best tips to help make exterior painting a breeze!

Here are 5 tips you should know when painting the exterior of your home:

  1. Consider Mother Nature – Don’t forget about the weather! It is important to pay attention to the weather if you are going to be outside all day painting. Select a dry time of the year when there is little rain and humidity. Paint needs to dry and will not adhere to surfaces correctly if they are not dry.
  2. Quality Over Price – The better the paint quality, the fewer times you’ll need to repaint over the years. Paint technology has improved so much that most colors are guaranteed to last longer than they have before. You may be tempted to save some money on cheaper paint, but that will only cause you more trouble, and more money down the road!
  3. Sand and Wash – Paint doesn’t adhere to wet surfaces, as well as dirty and rough surfaces. Clean the siding and trim around your house. Allow that to dry, then sand. This will ensure the smoothest paint finish.
  4. Use Primer – Its always been a rule to apply a good coat of primer before your color. This will have the color looking brighter and lasting longer. However, new paint technologies have combined paint and primer into one product, which ultimately will save you money compared to buying two separate products. If your perfect paint color doesn’t include primer in the mix, make sure you apply some before!
  5. Work from Top to Bottom – Start working your way from the top of the house to the bottom. This will help control streaks, as well as having you work with gravity rather than against it! Drips are going to happen, so this method will help you fix those as you are working rather than having to go backwards.


While painting the exterior of your home can be something you can do yourself, if you don’t feel prepared enough, that’s okay. Hiring a professional painter to get the labor done instead could be the better option. For advice and contractor recommendations, give the team at Nuzum Building Supply a call!

How to Improve Your Kitchen

Planning an upgrade or new kitchen from scratch can be a tough and stressful process.

If you do not know where to start, first do your research on your kitchen preferences and contact the building design professionals here at Nuzum!

Working with professionals will help you choose the right cabinet colors, cabinet hardware and cabinet layout. You want to ensure that your cabinets are beautiful, compliment your space, and are designed with a purpose so that all your belongings fit neatly. Knowing how many items you need to store will also be a big help in deciding how much storage space your kitchen needs.

Follow the
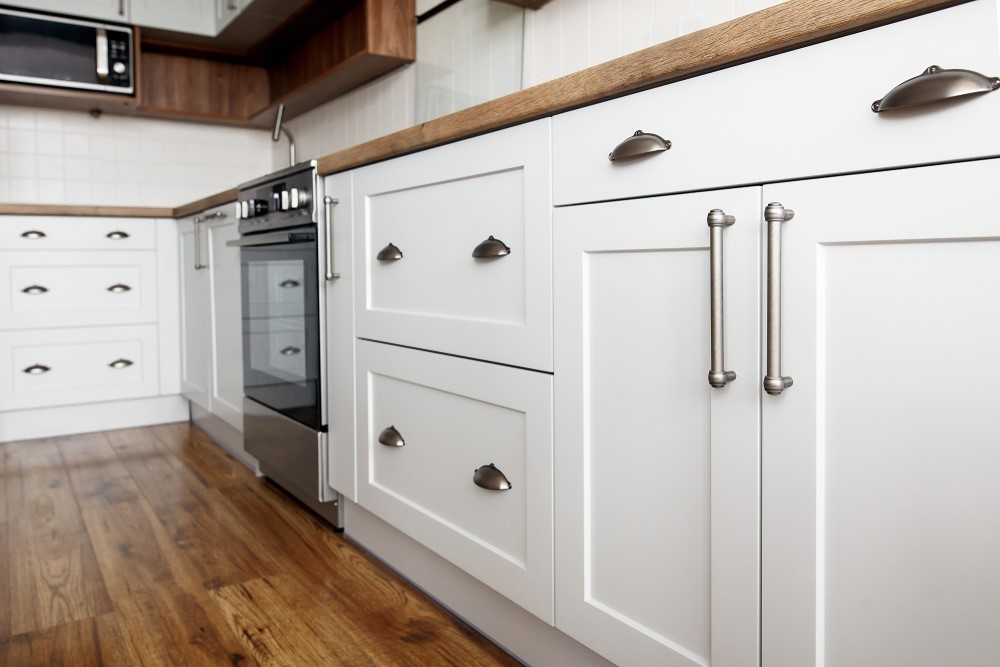
se simple steps to improving your kitchen:

  • Call and set up an appointment for an in-home design so that the designer, as well as carpenters and contractors can inspect the area, discuss your vision, and take measurements!
  • Design the layout of the kitchen by choosing the proper shape for your needs. Whether you have a large family, a large business, a small family or a small business, each kitchen needs to be tailored to fit your needs so that you enjoy your kitchen and it helps make your life easier!
  • Create a path by discovering and discussing how your family or business moves throughout the kitchen. In which order do you like to move from the refrigerator, to the sink, to the oven, and back to the island counter top to prepare a meal?
  • Decide your kitchen shape. Would you benefit from an L-shaped kitchen, a U-shaped kitchen, a kitchen on a single wall, or a G-shaped kitchen? Remember to think about the outer area to have to work with and around!

Each kitchen layout creates the perfect floor plan for your unique space and needs. Efficiency can be achieved by well thought-out plans. Enhancing the space with proper cabinetry will create wonderful storage for all belongings and the right floor plan will ensure no more traffic jams!

You can still enhance your kitchen without making major remodeling improvements. Repainting your cabinets and your cabinet hardware can really change the look of your kitchen. Work within your needs and your budget to give yourself a functioning dream kitchen!

3 DIY Kitchen Cabinet Ideas Anyone Can Build

It’s a Great Time for a Do-It-Yourselfer

The access to Internet makes it easier than ever before to find ideas, inspiration, and instructions for an enormous variety of DIY projects. However, not every project you see online is quite as easy as it looks. Many of the supposedly DIY projects you may find were actually done by accomplished craftsmen and designers.

There is good news, though. Many projects are simple enough for nearly anyone to do, even with limited skills and tools.


Here are 3 DIY cabinet ideas that anyone can build:


  • Disappearing Dishwasher

Many dishwashers are available in “panel-ready” versions. The dishwashers that also known as concealed or integrated dishwashers are designed to accept a panel that matches the existing cabinets in your kitchen. A simple panel can transform your dishwasher from an unattractive eyesore into just another lower cabinet. This can give your kitchen a seamless look typically found in a high-end home.

You can buy custom cabinet panels online or make your own. Either way, it doesn’t take much time or money to transform your kitchen with this simple upgrade.


  • Chicken Wire Doors

Open cabinets are a restaurant kitchen staple. In the home kitchen, however, most people don’t want their cabinets exposed like that. Replacing your cabinet doors with chicken wire is an easy way to add some country appeal to your kitchen.

You can complete this easy project in an afternoon, but the impact is much more significant than the effort. If you want a vintage look with just a touch of the whimsical for your kitchen, DIY chicken wire cabinet doors could be just what you’ve been looking for.


  • Under Cabinet Lighting

Too many kitchens, especially in older homes, suffer from a lack of adequate task lighting. Today, it’s easier than ever to transform a dark, shadowy kitchen into an inspiring space. This transformation is easy with DIY under cabinet lighting.

Kitchen under cabinet lighting is an easy project that any DIY’er can take on. If you opt for battery-powered LED lights,

Battery-powered LED lights, you can complete the task in about five minutes, with no wiring required. If you prefer a slightly more permanent installation, you can drill a few holes and route a power cord. You can often find an extra outlet in an upper cabinet behind the microwave.


Call the Professionals at Nuzum

While many kitchen upgrades are best left to professionals, just about anyone who can hold a screwdriver can handle these simple DIY cabinet projects. Get all of your necessary tools, building supplies and professional advice here at Nuzum!

The 10 Tools in Every DIY Pro’s Toolset


While there are a lot of simple tools every DIYer needs in their toolkit, it is also important to know the best kind of powerful tools to make getting your home improvement job done more efficiently and effectively. Whether you are outside building your family a new deck, or inside finishing up the basement, using the right tools will create a stunning completed project!


Top 10 Tools You Need:

  1. Miter Saw – a necessity when wanting large, precision cuts.
  2. Drill/Impact Driver Combo – a drill that is like having your right-hand man there with you while working on any project.
  3. Bandsaw – the best for making precision profile cuts in any wood.
  4. Rotary Tool – can cut off metal; sand in tiny areas; drill; carve into a variety of materials. This little tool is the one you didn’t know you needed until you use it!
  5. Jigsaw – similar to the bandsaw, but with this you can bring the project to the tool when working with a large piece.
  6. Power Sander – smooth, strip, and finish a surface quickest with a power sander.
  7. Circular Saw- if you are building a deck, fence, or any other outdoor structure, this tool will make the most precise cuts. It is one of the most versatile tools in your kit.
  8. Table Saw- the king of making smooth cuts. You can cut lumber, shave off rounded edges, and cut down large sheets for cabinetry and furniture with a table saw.
  9. Cordless Finish Nail-gun – best when working on small projects and great for anyone who hates to use a big, heavy, and loud compressor.
  10. Oscillating Multi-tool – the perfect on-the-go tool for when you need to make cuts. Cut detail areas, sand in tight corners, scrape up tiles, and even cut nails with this versatile tool.


Safety First

Leave it to the professionals to tell you exactly what you need to get most home projects done the best. These powerful tools can be dangerous, so it is important to always use safety precautions and keep away from children and pets!


Makita Power Tools 

Here at Nuzum Building Supply, we carry premium power tools and accessories by the trusted tool brand, Makita. They allow you to rule the outdoors with tools that make getting your project done easier. The professionals at Nuzum will give you advice on the best tools you need for your next project!

The Most Essential Tools for Your Toolkit

Being a homeowner is a big responsibility and having a handy toolkit nearby is essential. When something important breaks, chips or deteriorates, it is imperative to get it fixed. Paying someone else to do it or saving yourself some money and doing it yourself are the best options. If you are looking for a wide variety of power tools to add to your tool kit, Nuzum offers Makita products that make every job easier!

A lot of projects only require a few simple tools to complete. Having basic tools handy at home will make it convenient to complete easy home repairs. Whether your toolbox is in the garage, or you keep your necessary tools in a kitchen drawer, having the right kind of tools nearby is key to completing projects yourself!

• Cordless drill – There are endless possibilities when it comes to the use of a cordless drill. Use this power tool to insert screwdriver bits to remove screws or drilling pilot holes for screws and nails. When you want to get the job done efficiently and effectively, a cordless drill is important! Nuzum’s premium line of power tools, Makita, offers the perfect cordless drill for your kit!

• Assortment of nails and screws – You can find a variety of nails and screw sizes in prepackaged containers and your local home center, such as Nuzum.

• Screwdrivers – A good quality flat head screwdriver and a Phillips head screwdriver are the two most important kinds you will need in your toolkit. A set of tiny screwdrivers can be helpful as well when needing to tighten the screws on a pair of eyeglasses!

• Pliers – It is important to have a wide variety of shapes and sizes when it comes to pliers. Wire cutting pliers are also good for wiring and craft projects.

• Tape measure – Choose one long enough to measure a wide range of small and large furniture and spaces. A small tape measure that can fit in your pocket or purse can come in handy on the go as well!

• Level – Make sure your pictures are hanging level. A good, sturdy level will last a lifetime!

• Hammer – For hanging pictures or putting up shelving, consider different sizes of hammers for more delicate projects or heavy construction!

• Wire cutters – Ensure you do not damage your home scissors by using the correct type of wire cutters. Wire cutters make it easy to cut a wire when dealing with electrical repairs, crafts, and other projects!

• Blue painter’s tape – Professional and amateur painters use blue painter’s tape to mask off areas they want free of paint. Available in different widths and sizes, this special tape is made to be removed from surfaces without causing damage. You can tape off the edges of a door frame or tape down runners to protect the floor from scratches when moving large furniture!

• A pencil – Having a pencil handy will be of more use than you think. Use it to place a mark right where you need to drill a hole or record a measurement. It is important that it is a pencil and not a pen, so it is easy to remove!

Home Improvement Projects for Beginners

Jump in, get your hands dirty and have some fun with easy home improvement projects. We all start somewhere. You are never too old or too young to learn simple projects to better your home. Whether it is an upgrade or a fix, improving your home is always a good idea! Use your free time and these easy tips to build your skills and boost your confidence when it comes to home improvement!


Paint a room

If you want a fast and economical way to achieve impressive and immediate change to your room’s look and feel, a new coat of paint is your best friend. Whether you are freshening up a guest room or touching up a dry wall patch, painting is the final touch that makes your room feel complete. If you don’t like the finished project, no worries, just paint over it until you find what you like. Many paint stores will give you a sample can of paint to use on a portion of your project to make sure you get the right color on the first coat. Invest in a roller and pan, trim brush and clean up equipment to make the process go much smoother. While it can get messy, painting a room is something the whole family can enjoy doing together!


Install a fire pit

Create your family’s favorite outdoor gathering spot perfect for bonfires and smores by building a fire pit. This introduction to basic concrete work is the perfect project to really bring out your building skills. Evolve your skills into patio, tuck pointing, retaining walls and lots of other DIY home improvement projects! Masonry tools are inexpensive and easy to obtain. Use a trowel and tuck-pointer to make your fire pit and any future project easier and faster to complete.


Replacing cabinet pulls or knobs

Upgrading your cabinets and replacing the pulls or knobs is a quick and easy way to improve your kitchen without breaking the bank. It can be as easy as unscrewing the old and attaching the new piece. Don’t underestimate the look of new hardware on your cabinets and drawers. You can tie the entire kitchen or room together with knobs and pulls that match your style. Some complications can arise when using washers or a pull that is rusted onto a screw. It is very difficult to unscrew them with just a screwdriver; you need a power tool. Having a cordless drill is an essential tool for your DIY toolkit! Replacing your cabinet knobs and pulls to match the rest of the room will really complete your space.


Replacing a torn window screen

Whether it happened from a fallen branch, a pair of eager paws, or just simple wear and tear, most window screens are easy to fix. Repair the patch or replace the whole screen to prevent insects from entering your home and making your windows look more attractive. Window materials are inexpensive. A roll of screening and rubber spline to hold the screen in place are easy to find in your local home improvement store. Use a spline roller to make the project go smoother and decrease the risk of damage from installation!

Building a Deck – Proper Planning Can Save Cash

While we know it’s going to be a rough few weeks for everyone and we want all of you to stay safe, we also want you to keep thinking about those projects you’ve been wanting to do while at home and one of those should be building a deck or fixing the deck you have! We have a few tips that will ensure you don’t get frustrated as well as spend too much cash. Continue reading “Building a Deck – Proper Planning Can Save Cash”