Interior Painting Tips: How to Paint Like a Pro

A fresh coat of paint can breathe new life into your home. Painting interior walls is something many homeowners choose to tackle themselves, but you don’t have to sacrifice the quality of the finished job if you do this as a DIY project. With these tips and quality products from Nuzum Building Supply, you can paint just like a pro!

  1. Preparation is Powerful

Before you begin, prep the surface carefully. Oil, grime, and dust on the wall will destroy the final look of your paint job. So will holes in the wall.

Check the surface of your wall for cracks, flaking, and peeling, and sand or scrape these areas to remove the texture. Then, apply a powerful cleaner to remove dust and stains. Fill in holes with putty and allow it to dry thoroughly. Wash grease spots with soap and water.

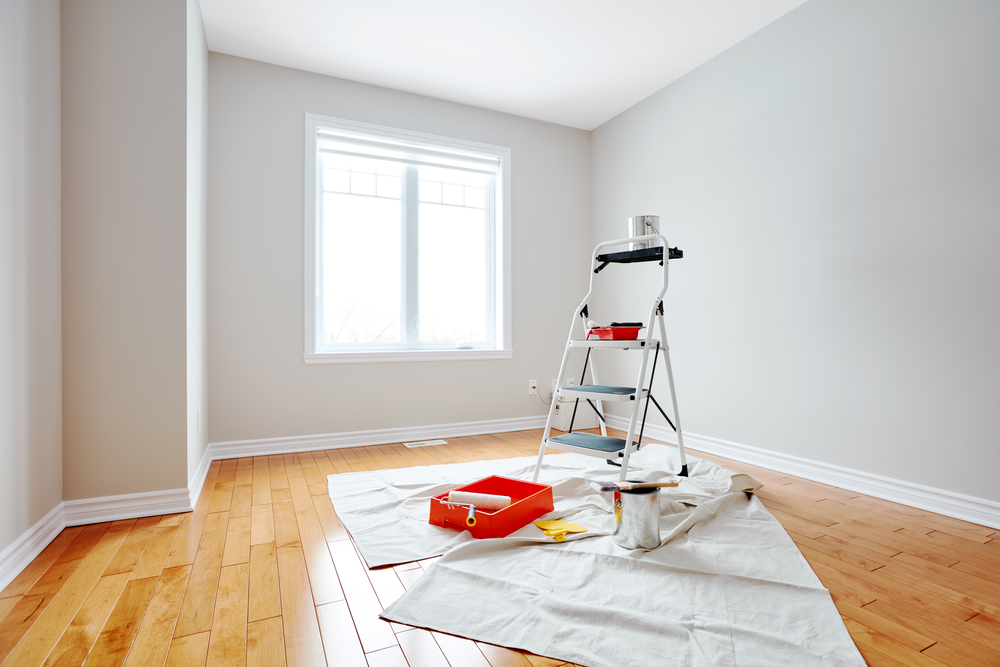
Prep the room, too. Use canvas drop cloths on floors and furniture that isn’t removable. Sheets won’t protect from paint bleeding through, and plastic is slippery if paint spills on it.

  1. Don’t Skimp on the Quality

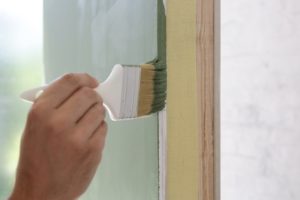
Both your pant and your rollers and brushes should be high quality. You’re probably doing the job yourself to save a little money but skimping here will mean a far less effective pant job. Cheap brushes and rollers will shed on your wall, and cheap paint will require more coats, which will then end up costing more. Our Valspar Interior Paint is a great choice. It goes on smoothly and holds up well for years after you paint.

  1. Know When to Use Primer

Primer is helpful to give you a good finish on your paint job, but not every job requires it. Primer is ideal when you’re covering a pattern, such as a mural painted on the wall, or going from a dark color to a light color. It can also help you get an even coat if you’re painting with a very similar color to what you had before.

  1. Use Paint Extender

Paint extender gets mixed into your paint before you paint. It helps even out the paint, which means you won’t see any overlapped areas or brushstrokes. Extender also lengthens the drying time. While this might not seem like a good thing, it actually helps you by giving you more time to check for mistakes and fix them before the paint totally dries.

  1. Do One Wall at a Time

Complete one wall at a time, then step back and look over it carefully, fixing mistakes before moving to the next wall. This gives each wall in your home a seamless look, even if it makes the panting job take longer.

  1. Wash Paint Rollers

Paint rollers are the best tool to paint your walls because they evenly coat, but one problem with them is the fuzz they can leave behind. Washing them with hot water and dish soap will help. This removes the fuzz and fibers and conditions the roller for the work ahead. You can use them immediately even while they’re still wet.

  1. Light It Up

Shine a work light on the wall as you paint, especially in the edges where you have to switch to a brush instead of a roller. This will help you see all of the mistakes and fix them as you go. Even if the room seems well-lit, ad a work light.

Are you ready to get started on your project? Give us a call or visit one of our stores to talk to one of our sales representatives for help finding the perfect paint supplies.


5 Tips When Painting the Exterior of Your Home


There are a lot of decisions and preparations that go into painting your home’s exterior. You have to find the right paint color, use the right tools, and have some knowledge of what you are doing. It isn’t easy but that is why we have curated the best tips to help make exterior painting a breeze!

Here are 5 tips you should know when painting the exterior of your home:

  1. Consider Mother Nature – Don’t forget about the weather! It is important to pay attention to the weather if you are going to be outside all day painting. Select a dry time of the year when there is little rain and humidity. Paint needs to dry and will not adhere to surfaces correctly if they are not dry.
  2. Quality Over Price – The better the paint quality, the fewer times you’ll need to repaint over the years. Paint technology has improved so much that most colors are guaranteed to last longer than they have before. You may be tempted to save some money on cheaper paint, but that will only cause you more trouble, and more money down the road!
  3. Sand and Wash – Paint doesn’t adhere to wet surfaces, as well as dirty and rough surfaces. Clean the siding and trim around your house. Allow that to dry, then sand. This will ensure the smoothest paint finish.
  4. Use Primer – Its always been a rule to apply a good coat of primer before your color. This will have the color looking brighter and lasting longer. However, new paint technologies have combined paint and primer into one product, which ultimately will save you money compared to buying two separate products. If your perfect paint color doesn’t include primer in the mix, make sure you apply some before!
  5. Work from Top to Bottom – Start working your way from the top of the house to the bottom. This will help control streaks, as well as having you work with gravity rather than against it! Drips are going to happen, so this method will help you fix those as you are working rather than having to go backwards.


While painting the exterior of your home can be something you can do yourself, if you don’t feel prepared enough, that’s okay. Hiring a professional painter to get the labor done instead could be the better option. For advice and contractor recommendations, give the team at Nuzum Building Supply a call!

Home Improvement Projects for Beginners

Jump in, get your hands dirty and have some fun with easy home improvement projects. We all start somewhere. You are never too old or too young to learn simple projects to better your home. Whether it is an upgrade or a fix, improving your home is always a good idea! Use your free time and these easy tips to build your skills and boost your confidence when it comes to home improvement!


Paint a room

If you want a fast and economical way to achieve impressive and immediate change to your room’s look and feel, a new coat of paint is your best friend. Whether you are freshening up a guest room or touching up a dry wall patch, painting is the final touch that makes your room feel complete. If you don’t like the finished project, no worries, just paint over it until you find what you like. Many paint stores will give you a sample can of paint to use on a portion of your project to make sure you get the right color on the first coat. Invest in a roller and pan, trim brush and clean up equipment to make the process go much smoother. While it can get messy, painting a room is something the whole family can enjoy doing together!


Install a fire pit

Create your family’s favorite outdoor gathering spot perfect for bonfires and smores by building a fire pit. This introduction to basic concrete work is the perfect project to really bring out your building skills. Evolve your skills into patio, tuck pointing, retaining walls and lots of other DIY home improvement projects! Masonry tools are inexpensive and easy to obtain. Use a trowel and tuck-pointer to make your fire pit and any future project easier and faster to complete.


Replacing cabinet pulls or knobs

Upgrading your cabinets and replacing the pulls or knobs is a quick and easy way to improve your kitchen without breaking the bank. It can be as easy as unscrewing the old and attaching the new piece. Don’t underestimate the look of new hardware on your cabinets and drawers. You can tie the entire kitchen or room together with knobs and pulls that match your style. Some complications can arise when using washers or a pull that is rusted onto a screw. It is very difficult to unscrew them with just a screwdriver; you need a power tool. Having a cordless drill is an essential tool for your DIY toolkit! Replacing your cabinet knobs and pulls to match the rest of the room will really complete your space.


Replacing a torn window screen

Whether it happened from a fallen branch, a pair of eager paws, or just simple wear and tear, most window screens are easy to fix. Repair the patch or replace the whole screen to prevent insects from entering your home and making your windows look more attractive. Window materials are inexpensive. A roll of screening and rubber spline to hold the screen in place are easy to find in your local home improvement store. Use a spline roller to make the project go smoother and decrease the risk of damage from installation!